SUMMARY
Learn how to send messages and docs directly from a transaction to internal and external recipients.
Introduction
Adding notes and sending emails from a transaction is the primary method of communicating with your team and outside contacts involved with a transaction. More than just a simple emailer, the transaction-specific message area offers several useful tools to help you create detailed, informative, personalized messages with lightning speed to keep everyone informed at every stage of the transaction. All of a transaction's notes and emails are displayed in the Notes & Sent Emails section near the bottom of the transaction for easy access to all the transaction's past communication in one place.
Emails sent from a transaction are sent in Pipeline's styled format. Master admins may set all messages sent from your company's transactions to be sent with minimal formatting instead. Learn how to Use Minimal Formatting for Emails Sent from Transactions →
Who Can Do This?
All Pipeline users that have access to a transaction can send a note or email from the transaction.
Video 🎥
1:06
Send a Transaction Note or Email
To send a transaction message:
- Go to a transaction.
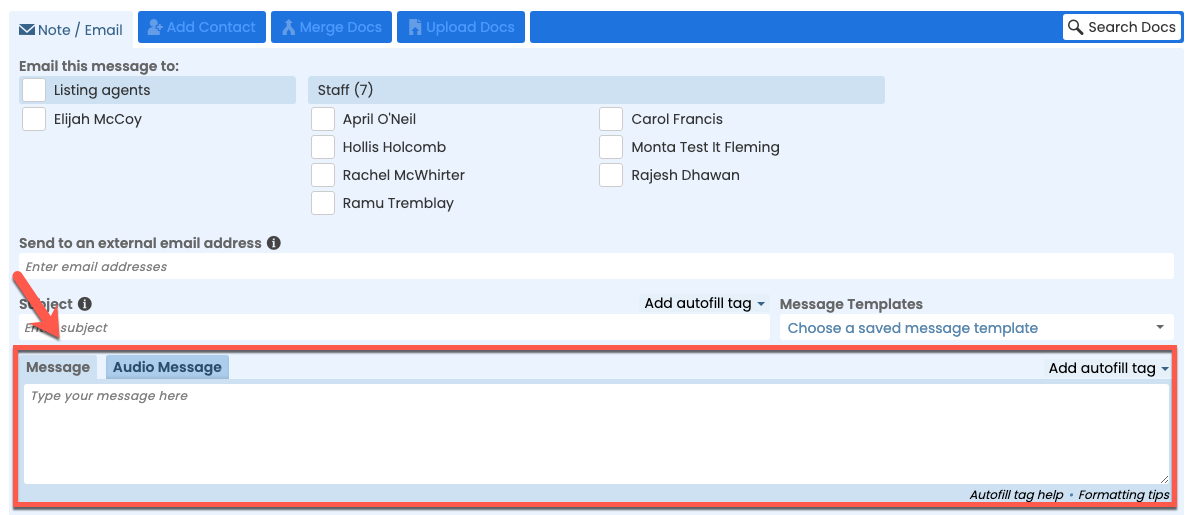
- Scroll down the page and click [Note / Email] just above the Documents area.
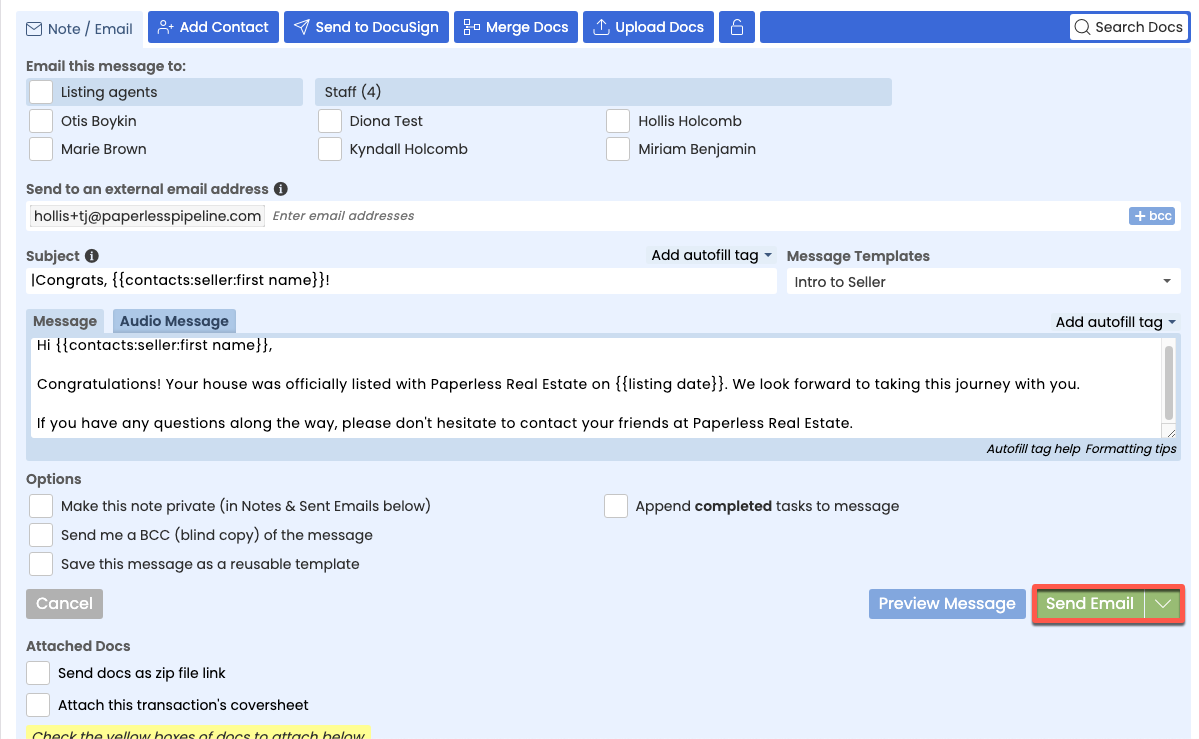
Specify Recipients
To specify a recipient:
- To send an email to an agent or staff member, select the checkbox to the left of their name.
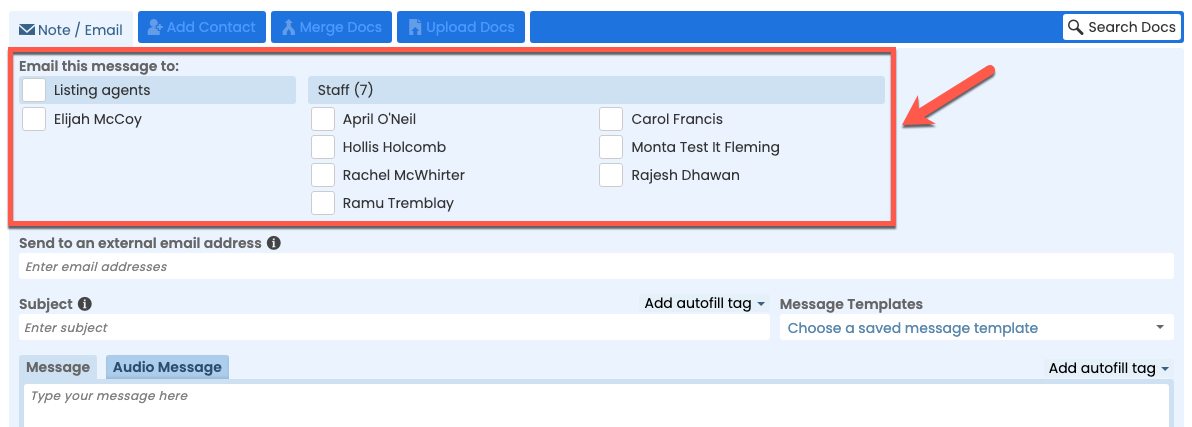
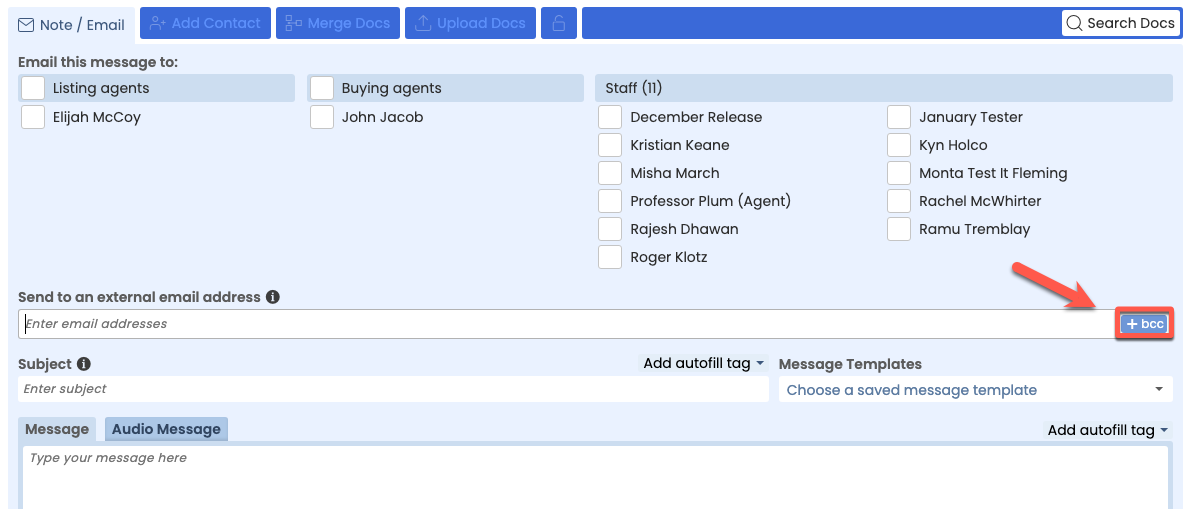
- To send an email to an external recipient, enter their email address in the Send To An External Email Address field.

- To blind copy a recipient, click the BCC option, then enter their email address.


Add a Subject & Message
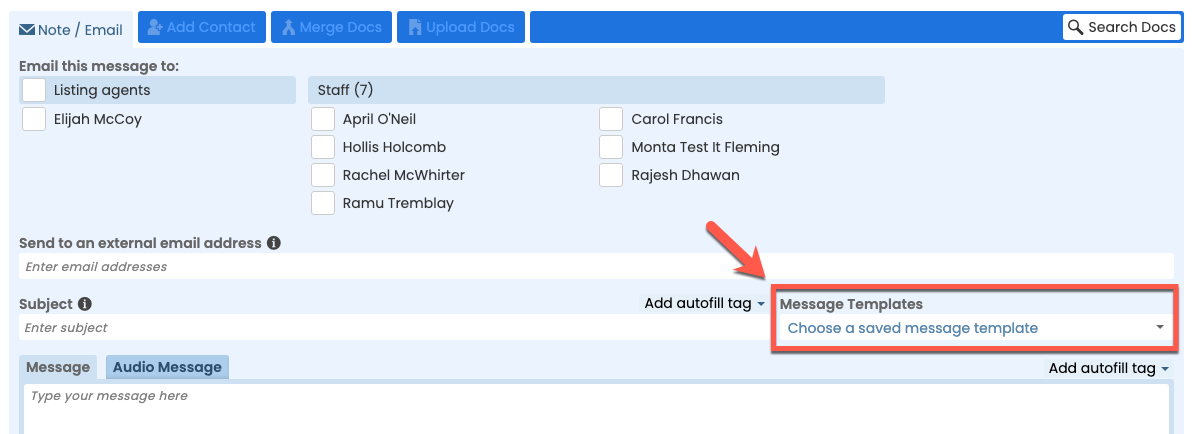
Use a Message Template
If you previously created any message templates or if an admin has shared any message templates with you, select a message template to instantly populate the subject and message fields with the template's information.
To use a message template:
- Click [Choose a Saved Message Template] to select an existing template. Revise the message as needed before sending.
Learn how to Create & Manage Reusable Message Templates here →
Complete the Message Fields
To complete the message fields:
- Enter a subject. If you leave the subject blank, Pipeline will automatically use the transaction name as the subject. If you enter a subject, the transaction name will automatically be added to the end of the subject.
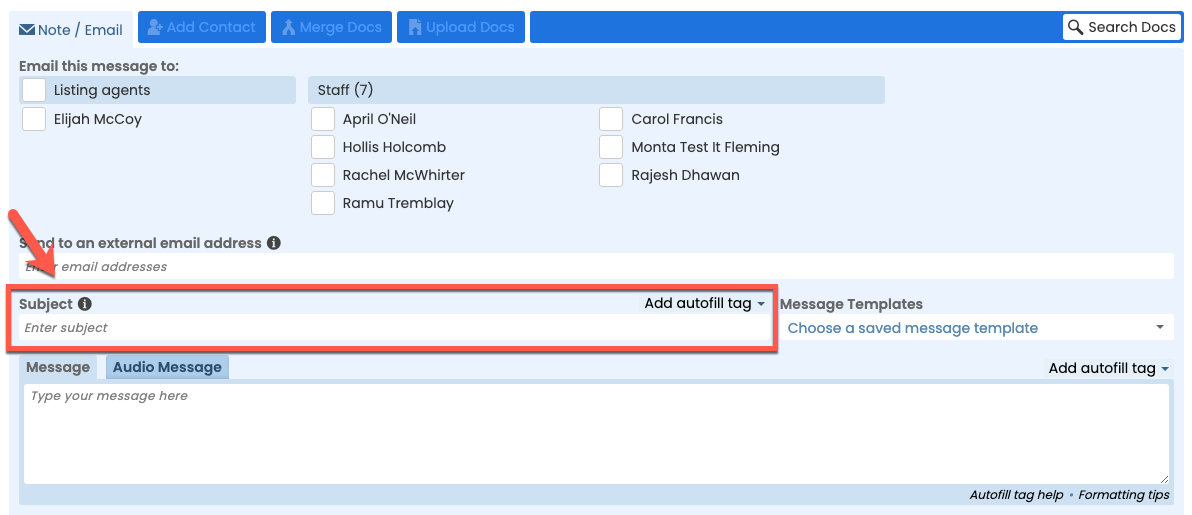
To omit the transaction name from your subject, start your subject line with a vertical bar "pipe character," |. You can enter the pipe character by pressing Shift + the \ key on your keyboard.

- Enter a message.
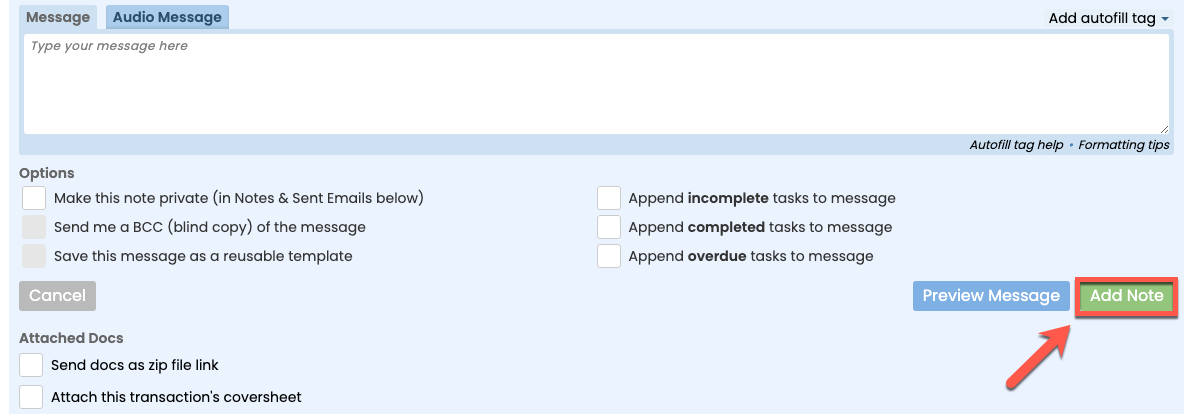
- Select any additional desired options (described below).
- To send the message, click [Add Note] or [Send Email].


Options
Attach Docs
To attach docs to an email:
- Select the checkboxes next to your desired doc(s) from the transaction’s Docs List or Reference Docs.
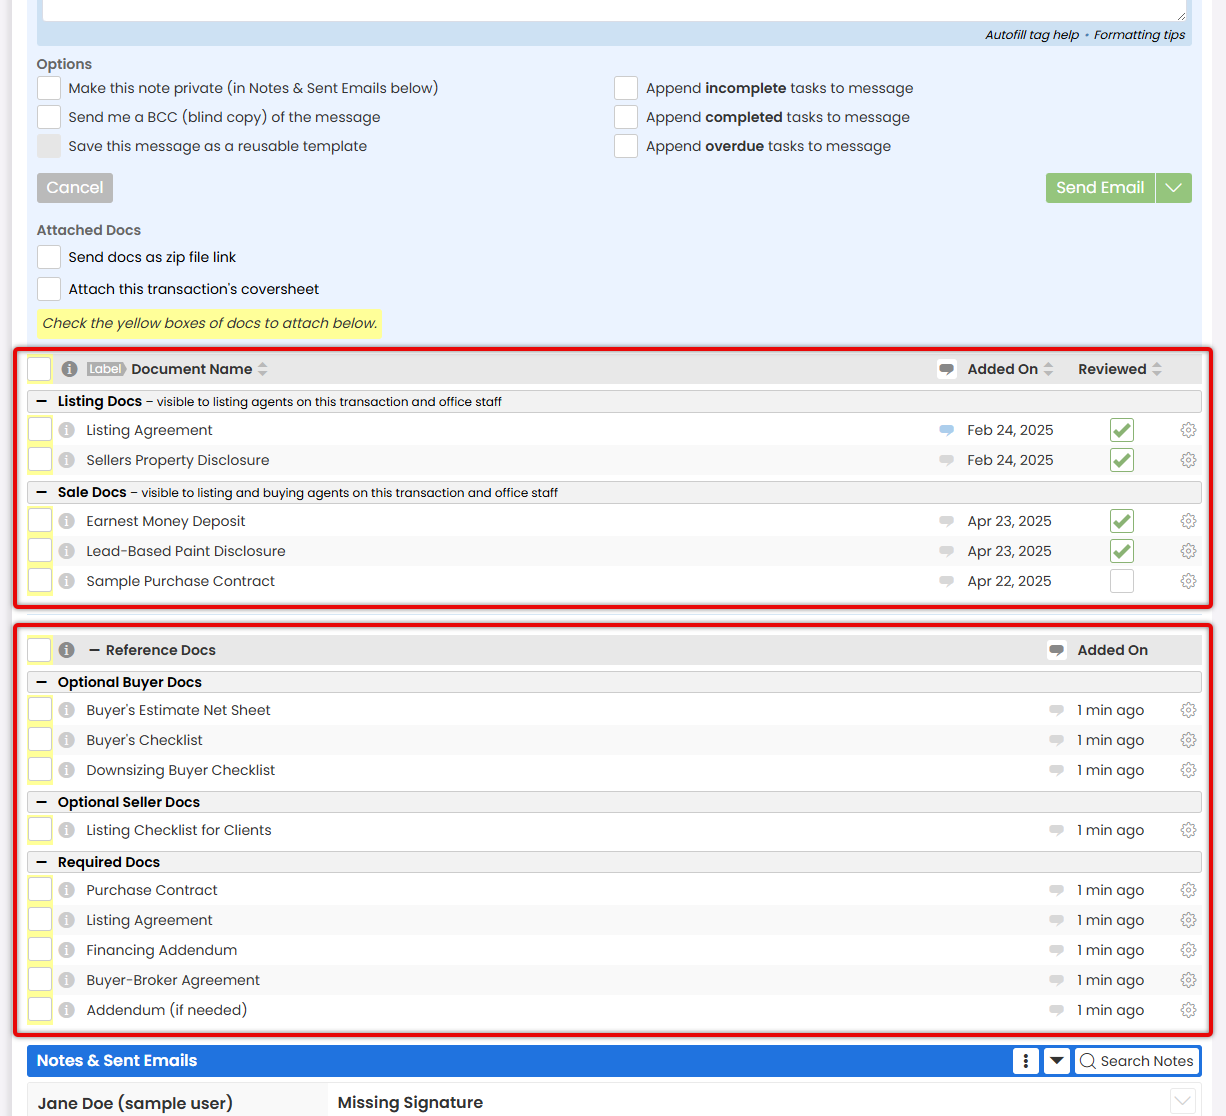
To attach all docs on the transaction to your email, select the checkbox at the top of the documents list.

To attach all docs in a specific Document Category, hold down the [Shift] key on your keyboard, then click any doc within your desired category. All docs in the category will be selected and you can individually deselect any that shouldn't be sent. Learn more about Document Categories →


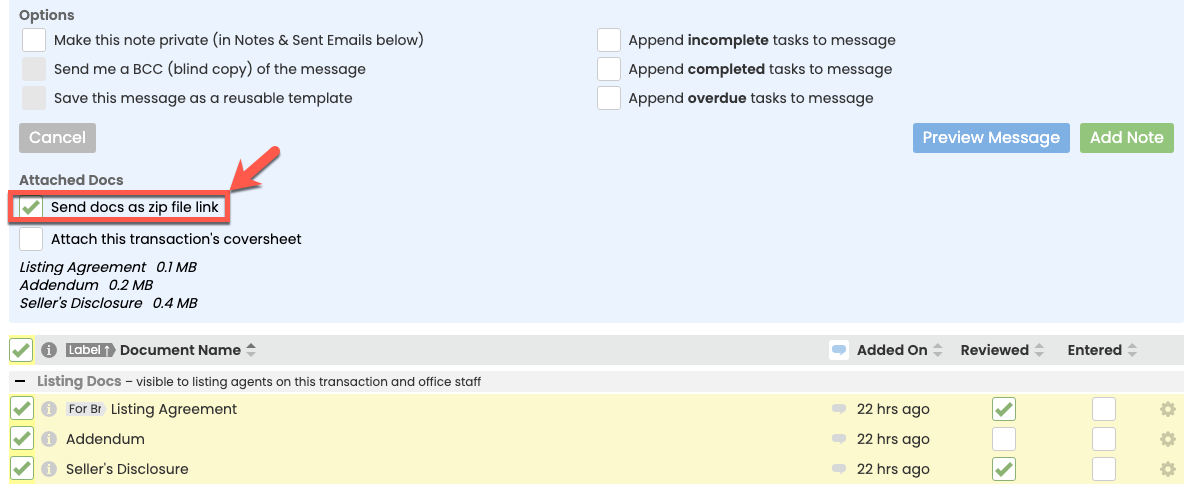
Send Docs as Zip File Link
When you attach docs to an email, they'll be sent to the recipient as individual attachments or as links (if the combined size of the docs is more than 5mb). Optionally, you can send all attached docs as a link to a single Zip file package. This is a great way of generating a closing package of docs.
To send docs as a Zip file link:
- Once you've attached your desired docs to the email, select [Send Docs as Zip File Link].

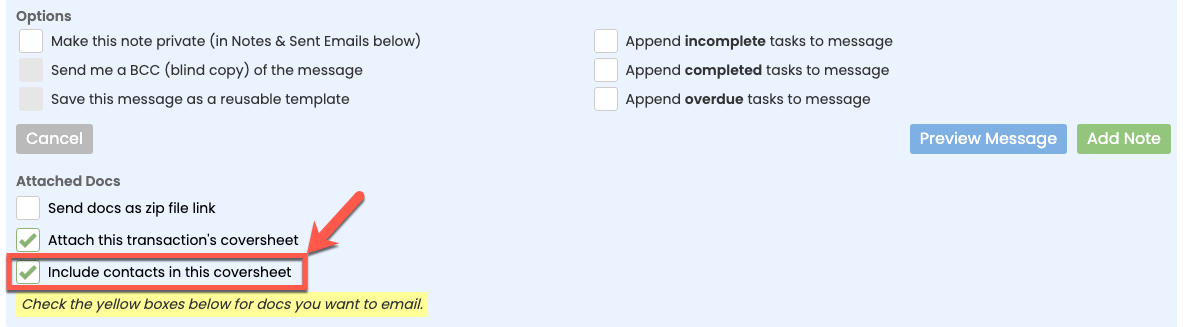
Attach the Transaction's Coversheet
To attach the transaction's coversheet to your message:
- Select [Attach this transaction's coversheet].
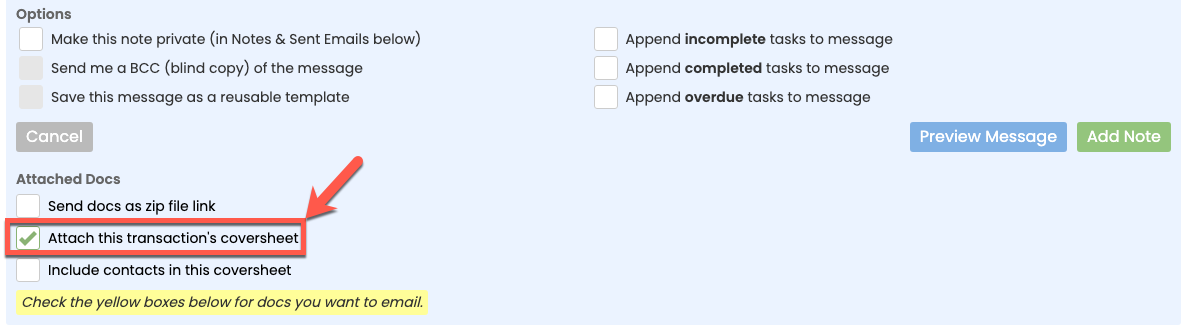
- Optionally, to include contacts with the coversheet, select [Include contacts in this coversheet].


Attach Tasks
To share a list of tasks based on their status with someone from your team, select one of the options to append incomplete, completed, or overdue tasks to a message. When you append tasks to a note or message, tasks are smartly included in the message based on the task's visibility and the recipient's role in the transaction.
To append overdue, complete, or incomplete tasks to a note or email:
- Click the desired [Append] option(s). If an option is not visible, that means there are no tasks of that type available to append.
Learn how to Understand Checklists and Tasks here →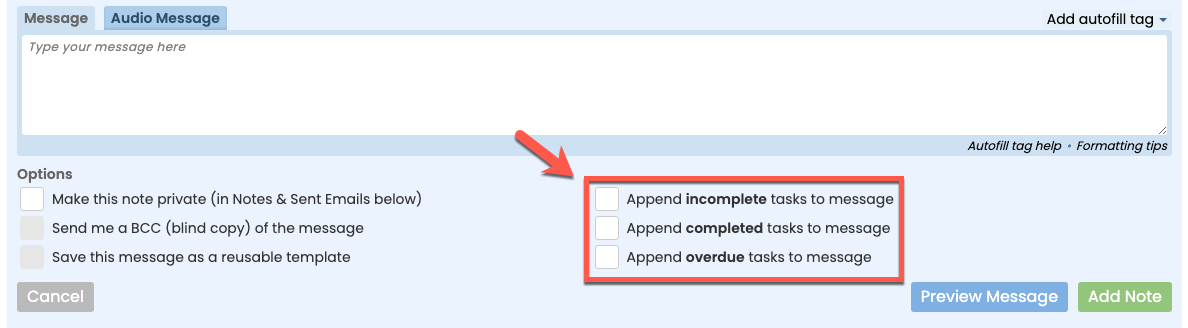

Recipients will only see tasks they have visibility to in Pipeline.
Learn how to Set Task Visibility here →
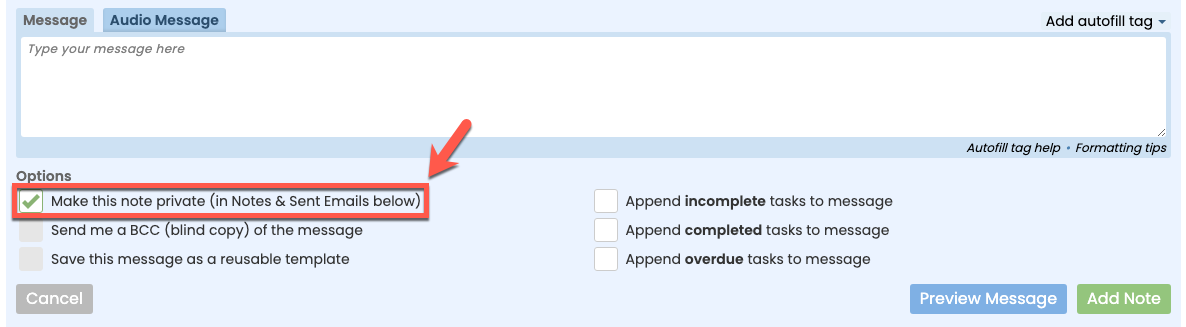
Make a Note or Email Private
To make a note / email private:
- To make your note visible only to you, any internal recipients on the message, and admins, click [Make this note private (in Notes & Sent Emails below)].

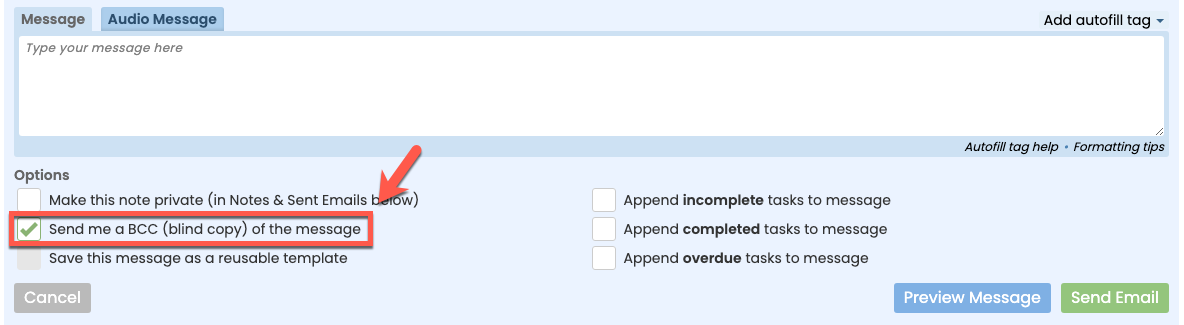
Blind Copy (BCC) Yourself
To send a BCC (blind carbon copy) of an email to yourself:
- Click [Send me a BCC (blind copy) of the message].

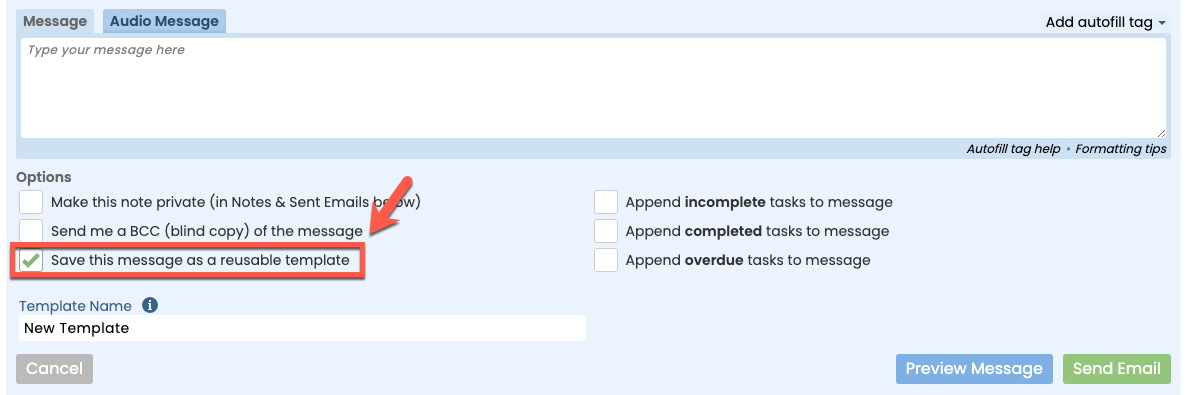
Save Message as a Reusable Template
Reusable message templates help you save time on messages you send frequently. Include autofill tags in your message templates to create personalized, custom messages that can be used later with a single click.
Learn more about how to Create & Manage Reusable Message Templates →
To save the composed message and subject as a reusable template:
- Click [Save this message as a reusable template].

When you're saving your message as a reusable template, you can use autofill tags to automatically input values from the transaction in the subject and message of any future messages sent using the template. Learn more about Autofill Tags →

Send Message Now
To send the message immediately:
- When you're ready to send the message, click [Send Email] or [Add Note].

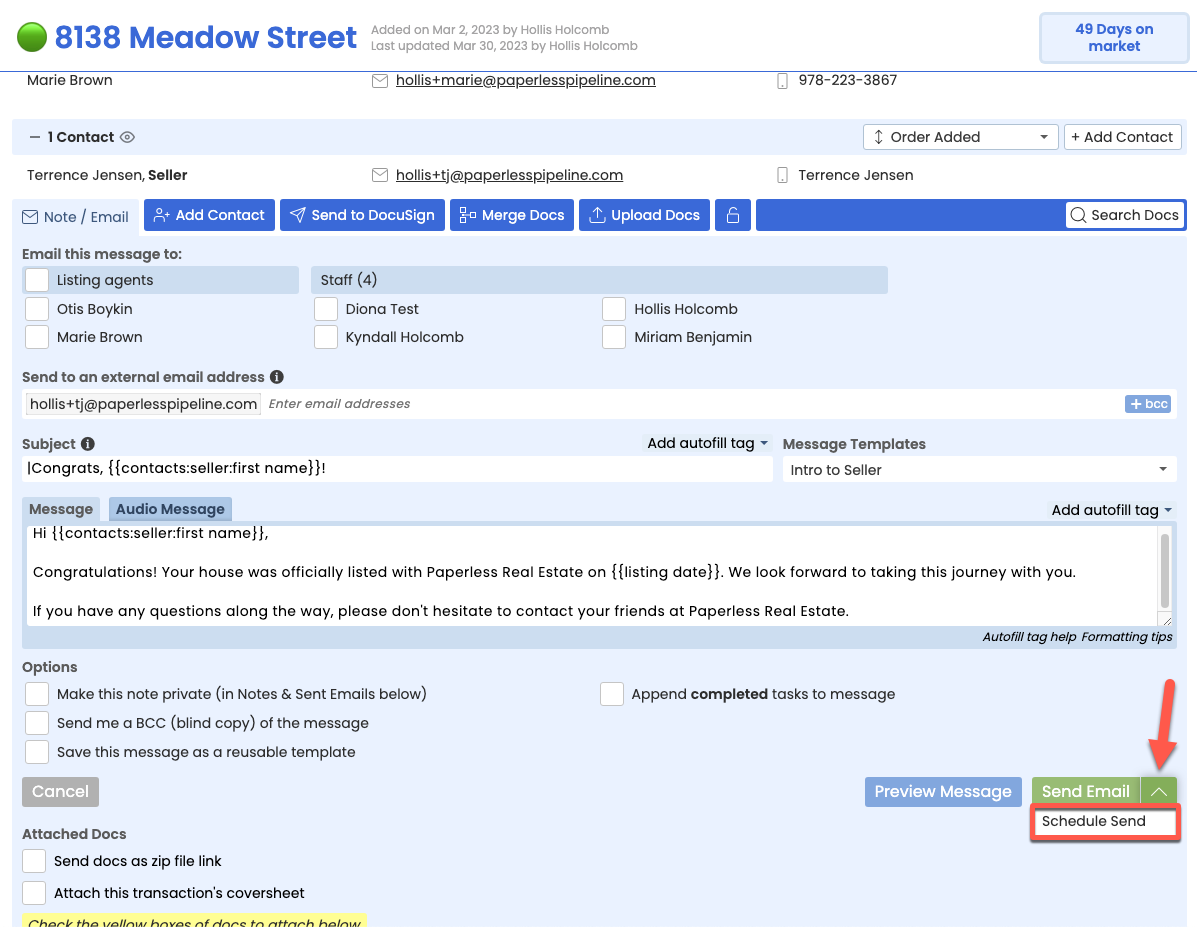
Schedule Message to Send Later
Schedule a message to be automatically sent from a transaction on a specific date and time or on a date relative to an important transaction date.
To schedule the message to be sent later:
- Click [the down arrow] attached to the Send button.
- Select [Schedule Send].
- Schedule the message to be sent on a specific date or a date relative to the transaction:
• To schedule the message to be sent on a specific date and time, click [Absolute Date], set your desired date, choose a delivery time, and click [Schedule Send].
• To schedule the message to be sent on a date relative to the transaction, click [Relative Date], set your desired date rule, then click [Schedule Send].
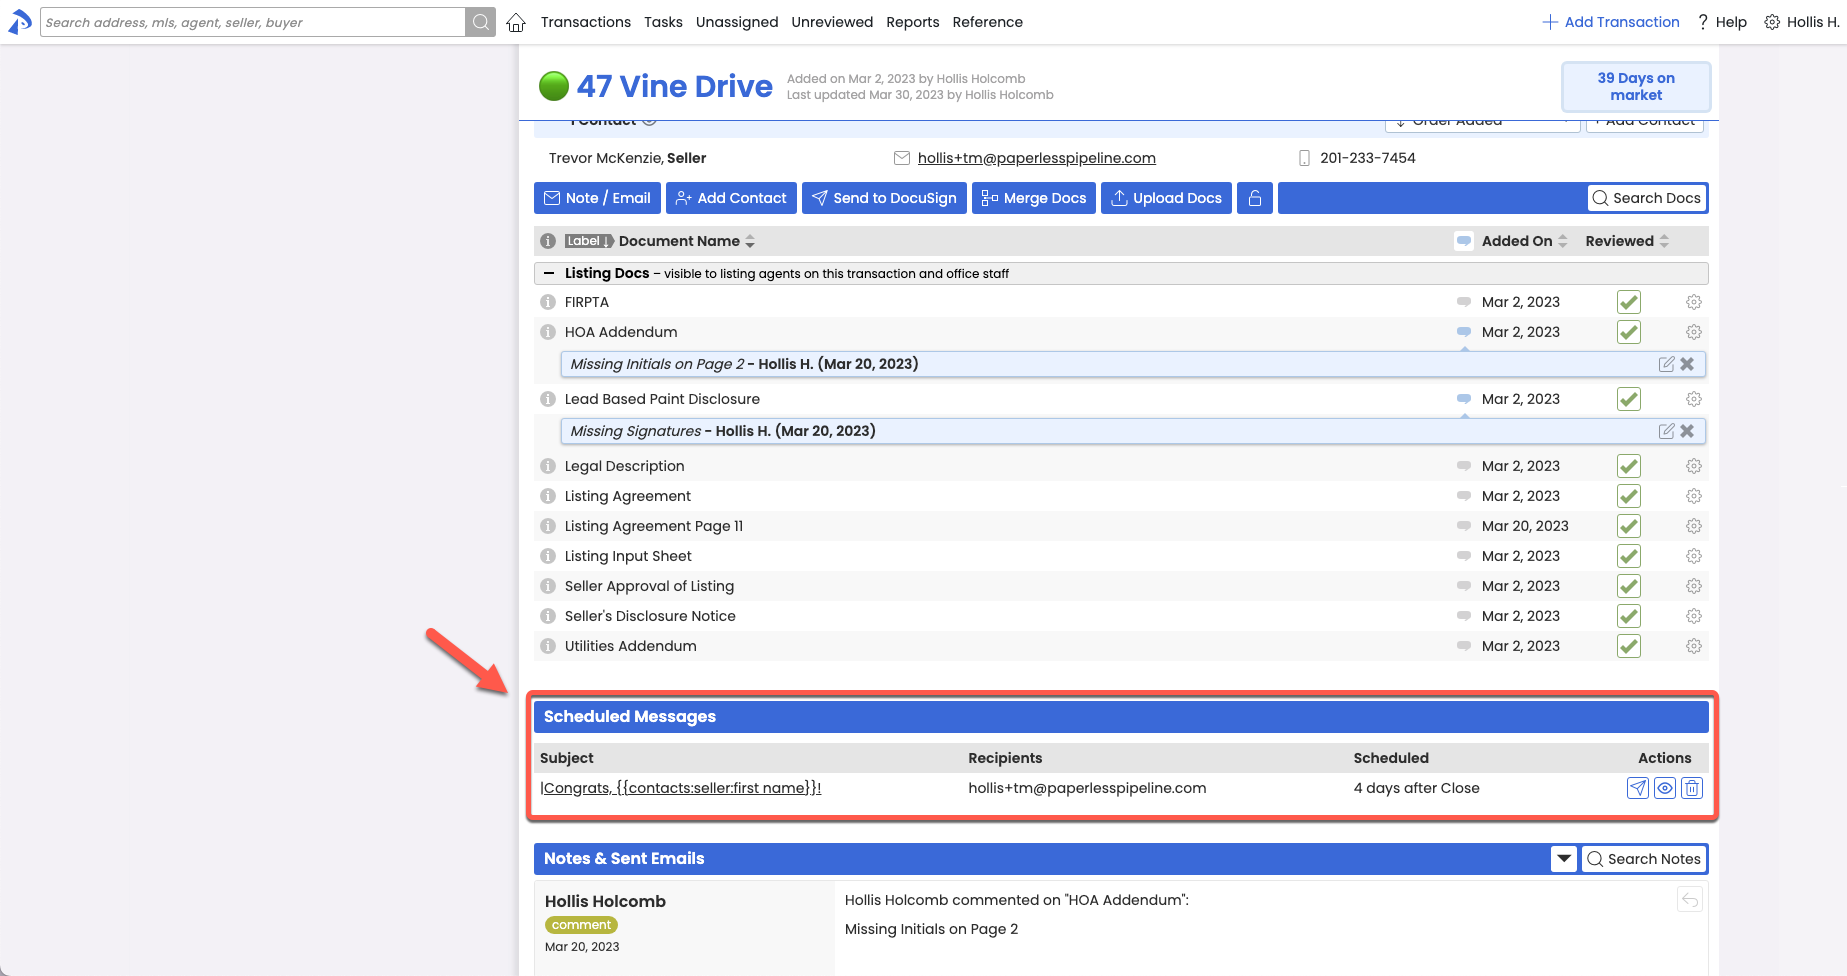
- Once the message has been scheduled, it will appear in your Scheduled Messages queue on the transaction and will be automatically sent on the date (and time, if applicable) you specified.


Reply to Transaction Messages
Reply to Emails in Pipeline
On transactions within Pipeline, reply to emails sent, emails received, and doc comments made.
To reply to an email or doc comment on a transaction:
- Scroll down to the Notes & Sent Emails section.
- Click the [Reply icon] next to the email or comment you are replying to.
- Continue composing your email (as described above).
Reply to Emails Outside of Pipeline
Internal Recipients
Emails sent from Pipeline to internal recipients (users in your Pipeline account) will smartly include the recipient's maildrop address so that when they reply, their messages will automatically be sent back to the transaction. To send your reply back to Pipeline only, simply reply to the email. To send your reply to Pipeline, the sender, and all other recipients, "Reply All" to any such message. If there's anyone you do not want to receive the reply, remove them as recipients before sending your message.
Learn more about Maildrop Addresses →
External Recipients
When an external recipient replies to a message, that reply will be sent directly to the sender's email inbox (since external recipients don't have Pipeline maildrop addresses). For an external recipient to reply back to the sender only, they can simply reply to the email or, "reply all," to reply to the sender and all other recipients.
Email Faster and Smarter from Pipeline
This Pipeline Pro session covers multiple ways to streamline the process of emailing from Pipeline. We'll cover features and strategies to execute before and after the send.
View more Pipeline Pro Webinars here →
11:51
Effortless Messaging
In this Pipeline Pro session, learn the various ways to type less, optimize more, and make your messages do all the work!
View more Pipeline Pro Webinars here →
13:07
Be Bold! Format messages to look the way you want
Come learn the various formatting options that can help add emphasis, clarity, and readability to your messages in Pipeline. We'll also reveal an upcoming formatting option for tasks that can help improve your workflow.
View more Pipeline Pro Webinars here →