SUMMARY Unassigned Docs is the general holding area for documents that have not yet been assigned to transactions. In this article, you'll learn how to assign Unassigned docs to transactions.
Short Version: 1) Click "Unassigned" from the navigation menu. 2) Locate the doc and click the green "Assign" button on its right. 3) Locate the desired transaction and click the green "Assign To" button next to it. 4) Name the doc and select its Permission Category. 5) Click "Assign Doc" to finish.
2:00
Assign an Unassigned Doc to a Transaction
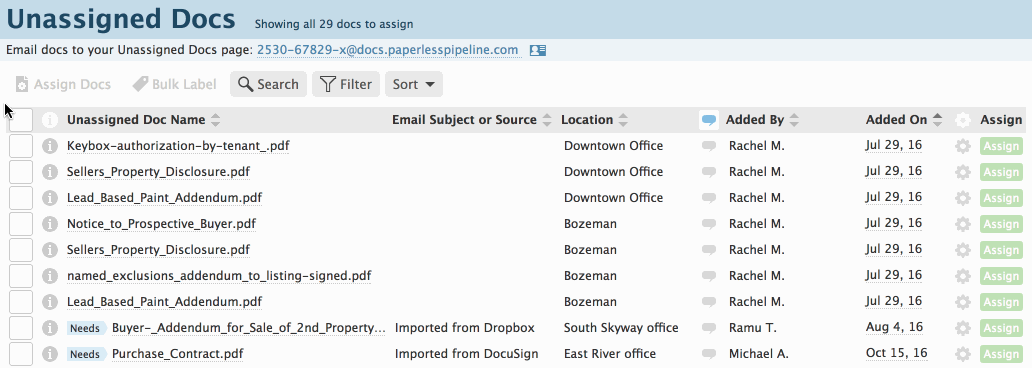
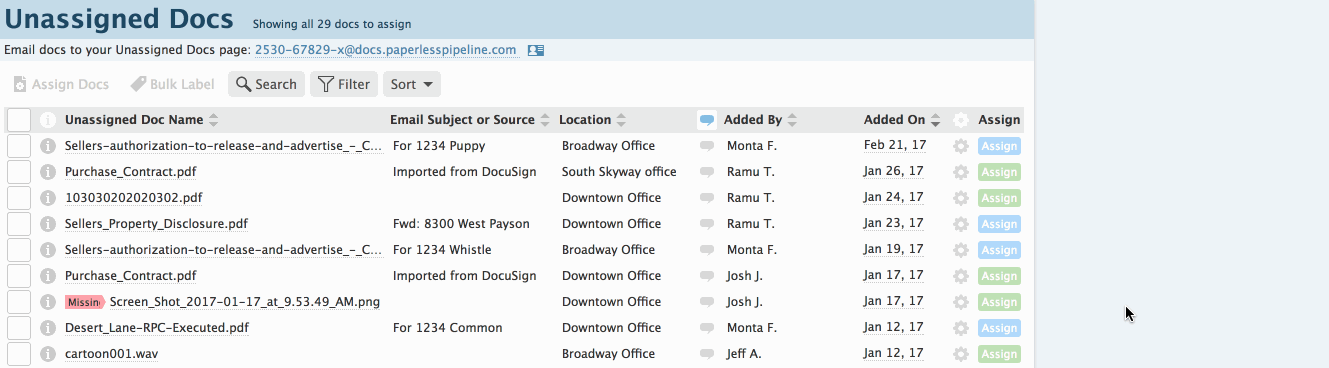
- Click [Unassigned] from the top menu. Documents that have been directly uploaded into Unassigned docs are indicated by the green assign buttons.
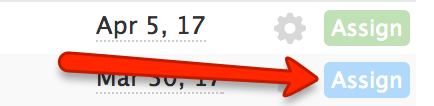
Docs that have been emailed to the maildrop addresses of pre-assigned transactions indicated by the blue assign buttons. Hovering over a blue button will show you which transaction the doc has been pre-assigned to.
Assign a Document that has been Directly Uploaded to Unassigned Docs
To assign a document that has been directly uploaded to Unassigned docs:
- Click the green [Assign] button.
- Select the desired transaction by clicking the appropriate [Assign] button.If the desired transaction is not shown, use the "Search Transactions" area to search for it.
- Confirm or update the proposed doc name and select the appropriate permission category. The permission category determines who will be able to see the doc, so it’s important that you select the right one. You can review the permission details for each category when selecting it. For instance, selecting the ‘Listing’ category will make this doc visible to only listing agents and office staff.
- Click [Assign Doc]. You’ll be taken to the transaction you just specified and see the newly assigned doc listed below.
Assign a Doc that has come in through a Transaction's Maildrop Address
- Click the blue [Assign] button. Notice that since this doc has been pre-assigned to a specific transaction, its transaction will already be selected for you in step one.
- Confirm or update the document name, and select an appropriate permission category.
- Click [Assign Doc].

To learn more about maildrop addresses, see: Understanding Maildrop Addresses →
Assign Several Unassigned Docs at Once
If you need to assign several Unassigned docs to the same transaction, save time by assigning them all at once. To assign several docs simultaneously:
- Check the box next to each doc.
- Click [Assign Docs]. Complete the assignment process the same way as for a single document.