SUMMARY
This article explains how you can upload docs manually, by dragging and dropping, via email, and directly to a transaction. Docs may be uploaded to a general holding area called Unassigned from where they can later be assigned to a transaction. Docs may also be uploaded directly into a transaction.
Learn More About Assigning Unassigned Docs to Transactions →
4:00
Upload a Doc
- Click the Unassigned page from the top menu. Each agent has their own unassigned docs area in Pipeline. Admin staff can see unassigned docs uploaded by all agents.
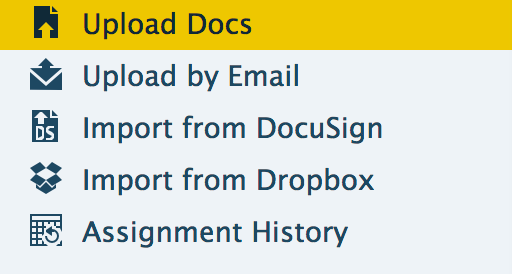
- Click [Upload Docs] from the left menu. You’ll be taken to the upload page.
Learn More About Assigning Unassigned Docs to Transactions →
Drag and Drop to Upload Docs
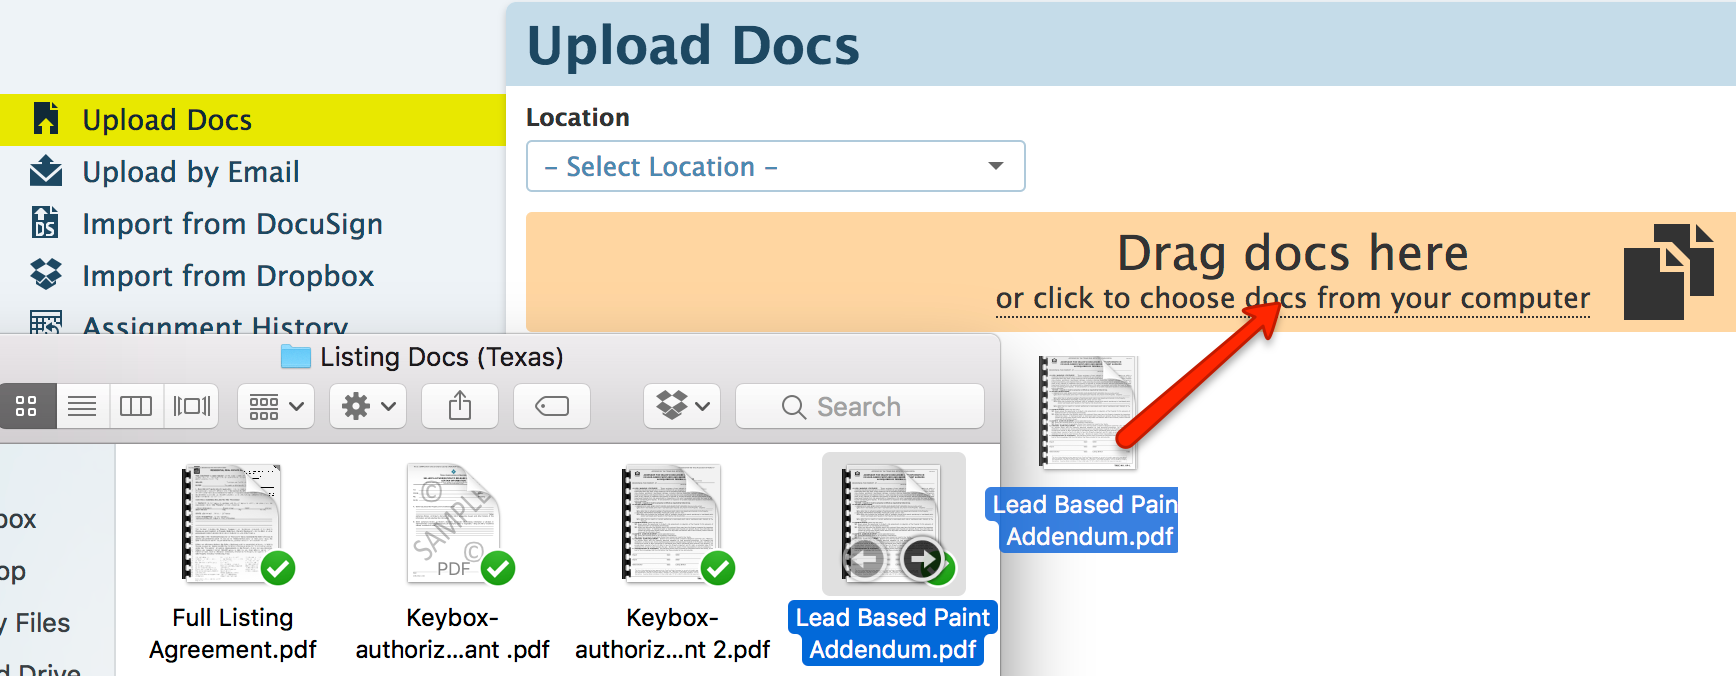
- Open a second window showing the docs you want to upload.
- Hold the mouse cursor down on a single document or CMND-click or CTRL-click to select multiple documents depending on whether you are on a Mac or a PC.
- Drag the docs to the "Drag docs here" shaded area. Pipeline will list the docs you selected.
- Select a location (if applicable).
- Click [Upload Docs]. You’ll see your uploaded docs in the Unassigned area.
Click to Upload Docs
- Click on "Click to choose docs from your computer".

- Select multiple documents depending on whether you are on a Mac or a PC. Pipeline will list the docs you selected.
- Select a location if applicable.
- Click [Upload Docs]. You’ll see your uploaded docs in the Unassigned area.

Maildrop Docs
Another way to get your docs into Pipeline is by emailing them to your maildrop address.
Each user gets their own unique maildrop address for each transaction to which they have access. Sending a doc to a transaction’s maildrop address pre-assigns it to that transaction. This saves the admin an extra step when they assign such a doc to a transaction.
Learn More About Maildrop Addresses →
Upload Directly to a Transaction
- Go to the transaction and click [Upload Docs] from the left menu.
- To drag and drop, open a second window showing the docs you want to upload.
- Select the desired documents, then drag them to the “Drag docs here” area. Pipeline will list the docs you dragged.
- Click [Upload Docs].
Whenever you are assigning or uploading docs to a transaction, you’ll need to specify a permission category for each doc. This permission category determines who will be able to see a doc. You can review permission details for each category during the selection process. For example: selecting the ‘Listing’ category will make that doc visible to only listing agents and office staff.
Basic Upload
To use basic upload without dragging and dropping docs:
- From the transaction, click [Upload Docs] then select the desired docs.
- Confirm the document name.
- Select a category.
- Click [Upload Docs].