SUMMARY
Locations can be used to represent physical office locations, teams, or any other group that benefits from segmented permissions, transactions, and users. Learn how to add, edit, and deactivate Locations.
Introduction
Locations commonly represent the various offices of an agency or brokerage, but they may also represent teams or any other group that benefits from having their permissions and users segmented. (e.g., as a repository for confidential docs, to support special team structures, etc).
Who Can Do This?
Master Admin and admin with permission to "Create users and locations (admin-level permission)" can add, edit, and deactivate Locations.
How To
Manage Locations
To manage Locations:
- Go to Admin / Settings
- Click your name in the upper right corner, then [Admin / Settings].
- From the left menu, click [Manage Locations].
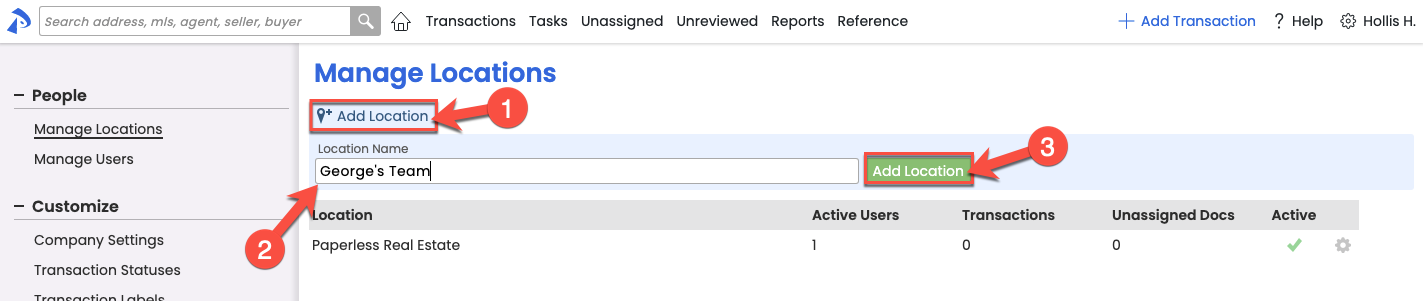
Add a Location
To add a Location:
- Go to the Manage Locations page.
- Click [Add Location].
- Enter a Location name.
- Click [Add Location]. Your new Location will now appear in the Locations list.

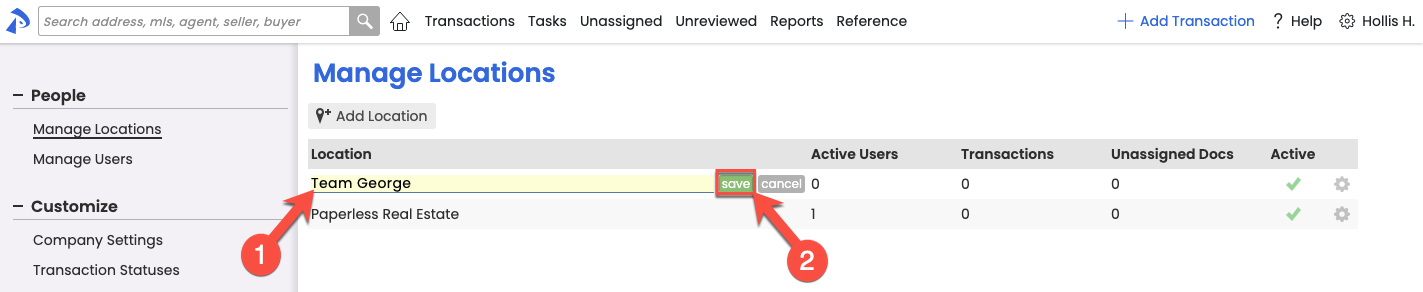
Edit a Location
To edit a Location:
- Go to the Manage Locations page →
- To the right of the Location, click the gear and select [Edit Location].

- Enter a new Location name.
- Click [Save]. Your updated Location will now appear in the list.


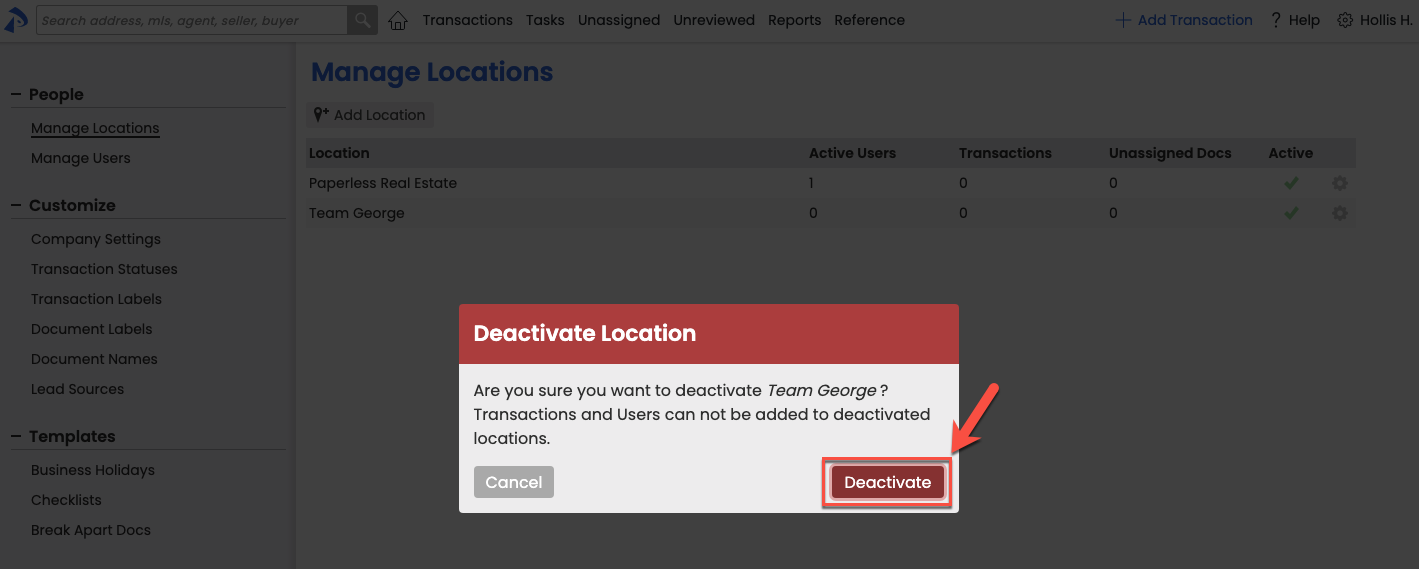
Deactivate a Location
To deactivate a Location:
- Go to the Manage Locations page →
- To the right of the Location, click the gear and select [Deactivate Location].
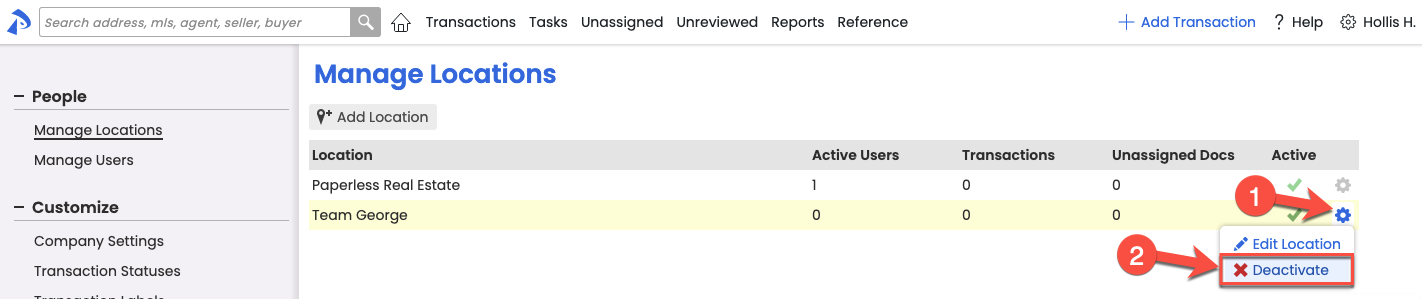
- Click [Deactivate] to confirm.


Pipeline Pro Webinar Recording - Managing Teams 🎥
This webinar covers how to set up and maximize teams in Paperless Pipeline. Learn to separate transactions, users, permissions, visibility, and communications by teams to optimize and streamline your workflow.
View more Pipeline Pro Webinars here →
13:38