SUMMARY
Checklists are a great way to help your team keep track of tasks and required documents within a transaction. In this article, you’ll learn how to create checklist templates that can later be applied to transactions.
1:27
Create a Checklist Template
To create a checklist template:
- Go to Admin / Settings
- Click your name in the upper right corner, then [Admin / Settings].
- Select [Checklists] from the left menu.
- Click [Add Template].

Enter Basic Checklist Info
To enter basic checklist information:
- Select a location, give the checklist a title, then add your tasks.
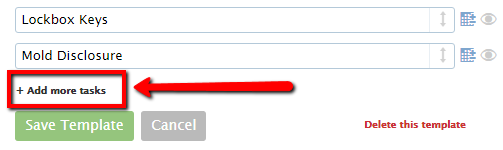
- You can include as many tasks as you’d like on a template.
- Add more tasks by clicking [Add more Tasks].
Define Relative Due Dates
Checklist tasks can have due dates defined relative to certain trigger activities. Setting relative due dates on the template means you won’t have to manually add due dates to each task on a transaction.
To add or change relative due dates:
- Click the [Calendar] next to a task.
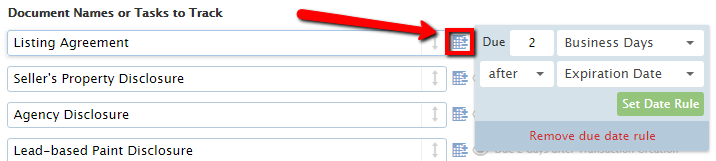
- Enter the appropriate values to build your rule.
- Click [Set Date Rule]

These date rules will be resolved into actual dates when this checklist is added to a transaction or whenever the date for the defined trigger activity is updated on that transaction.
Rearrange Tasks
Rearrange tasks by hovering over the right side of a task until a hand appears then dragging it to it’s desired place in the list.

Automatically Assign Checklist Templates to Transactions
Pipeline can be set to automatically assign checklists to transactions whenever the status, side, or label of a transaction changes to a desired value. Checklist auto-assignment saves time for your admins and makes your transaction management workflow more reliable.
1:52
To follow the written steps for how to do this, see: Automatically assign checklist templates to transactions →
Specify Location
If left unchecked, the automatic assignment of the checklist will only occur when the transaction belongs to the same location as the checklist.
Only master admins have access to this option.
:27
Save a Checklist Template
Once you have completed the desired fields, click [Save Template] to save. The template is now ready to be added to transactions.
Copy, Download, or Delete a Template
You may edit, copy, download, or delete an existing checklist template by returning to the list of checklist templates, clicking the gear, then selecting the appropriate action from the list.

Deleting a checklist template doesn’t remove it from transactions where it was previously applied.