SUMMARY
Users in Paperless Pipeline are people (such as agents and staff) who can log in to a company’s account.
Short version: 1) Go to Admin / Settings
2) Click [Manage Users]. 3) Click [Add User]. 4) Complete the form to create a new user. 5) Click [Add User] to finish.
1:04
Add a User
To add a user in Paperless Pipeline:
- Go to Admin / Settings
- Click your name in the upper right corner, then [Admin / Settings].
- Click [Manage Users].
- Click [Add User].
- Complete the form to create a new user. Enter their first name, last name, and the email address they’ll use to log in. Select their primary location - you’ll still be able to give the user permissions for other locations - then enter a password. They’ll use this password to log in to Pipeline and they may change it at any time.
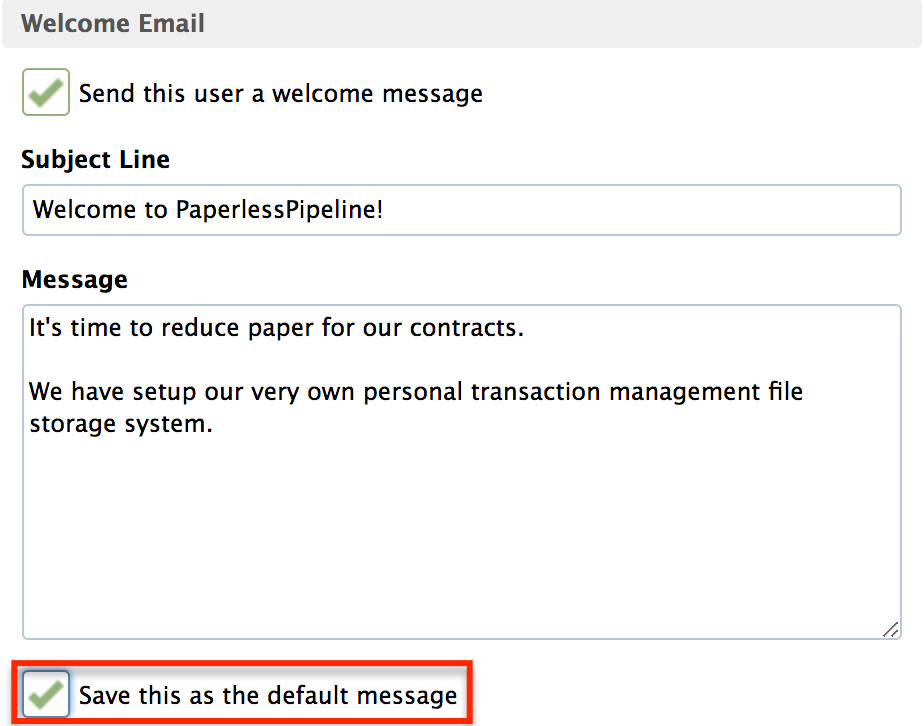
- Determine if you want the new user to receive a welcome email containing their login info. If so, leave the welcome message checkbox checked and confirm or edit the details of the subject and message.
- If you’d like the subject and the message to be saved for future welcome messages, click the [Save this as the default message] checkbox.
Set User Permissions
Permissions allow admins to control what actions a user can perform. To set user permissions:
- Expand the location if necessary and check the boxes next to the permissions you would like to grant the user.
- Since permissions are granted by location, specify separate permissions for each location. Learn about each permission by hovering over the item and viewing the help text to the right.
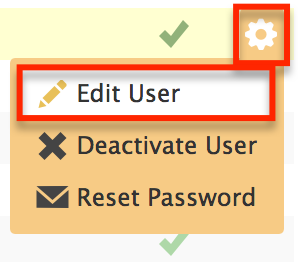
- Click [Add User] to save the user. User account info may be updated at any time by returning to the Manage Users list and clicking [Actions] then [Edit User].